


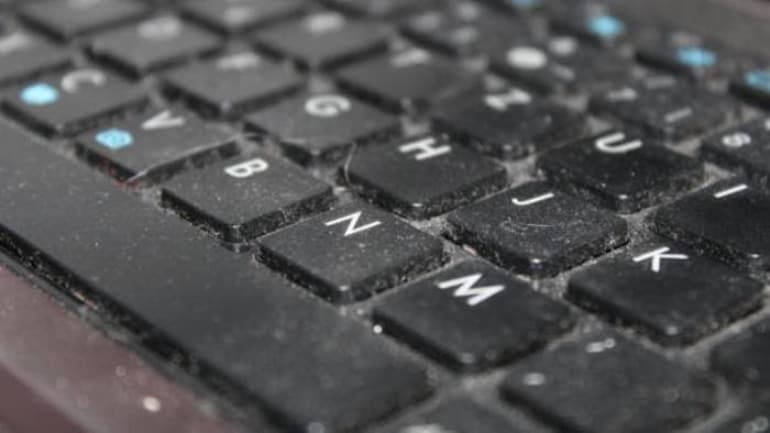
The computer keyboard accompanies us every time we use our PC. Due to how much it is exposed to dirt and dust, it is only reasonable to clean it on a regular basis, which ensures smooth and seamless work. Today we’ll show you how to clean a keyboard.
The keyboard is one of the essential pieces of hardware required to comfortably use the computer. Because of the amount of text we type each day it is usually the fastest-wearing element of the entire computer setup. As if that wasn’t enough, the keyboard is also exposed to dust, dirt, and possibly snack crumbs or spilled drinks, all of which – if not taken care of properly – will negatively impact lifespan of the keyboard, not to mention the immediately noticeable issues, such as sticky keycaps and problems with registering keystrokes.
There is also one more issue that is solved by simply cleaning the keyboard – germs, and bacteria. As time passes, more and more harmful microorganisms make their home inside your keyboard. Though invisible, they can be quite dangerous, as they spread infections and diseases. Cleaning the keyboard eliminates them, keeping you safe from their noxious influence.
Cleaning the keyboard regularly is important to keep it in good shape. But how exactly do you clean it?
Cleaning the Keyboard – Things You Will Need
Cleaning the keyboard can take quite some time, so, first of all, make sure you don’t need to use it for the next few hours if you plan to clean it thoroughly. However, if you want to perform just a cursory clean, then the whole thing shouldn’t take you more than several minutes.
Next, make sure you have easy access to the following:
- A microfiber cloth
- A cleaning slime
- Cotton buds
- A screwdriver
- A bowl of soapy water
- Canned air
- A keycap puller or, alternatively, a properly shaped paperclip (mechanical keyboards only)
- Rubbing alcohol
Keep in mind, that depending on if it’s an external keyboard or a laptop one, and on how much clean you want it to be, you will probably need just a few items from the above list.
Sensible advice: avoid using paper towels and toilet paper, especially when cleaning the plate, as these may leave lint behind, forcing you to spend additional time on removing these small unwanted particles as well. Leaving the lint inside may cause issues when it comes to registering keystrokes, forcing you to press certain keys harder than usual.
Cleaning the PC Keyboard
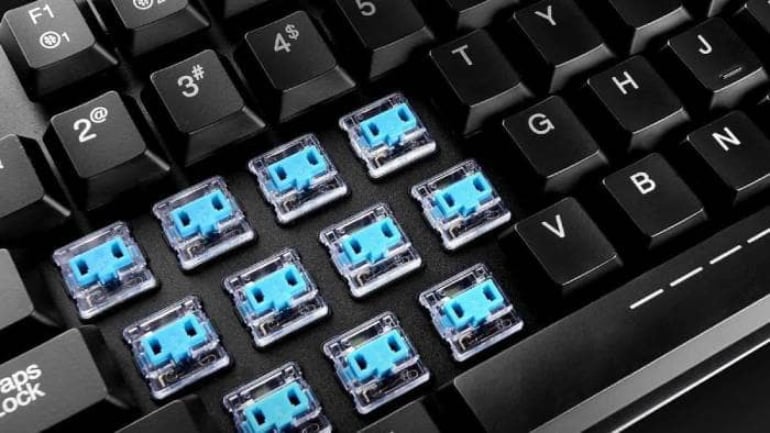
Some computer keyboards are easier to clean than others. Mechanical keyboards are particularly easy to clean, as their keycaps can be effortlessly removed in order to get to the keyboard plate underneath, where the most grease and filth accumulate over time.
Cursory Cleaning
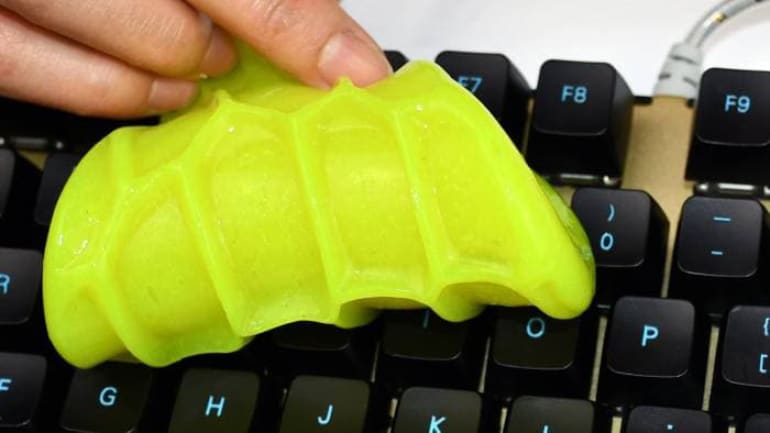
The easiest and the least time-consuming method of cleaning the computer keyboard is using the cleaning slime, though it only removes crumbs and other bigger particles. Just roll the slime over your keyboard a few times and it will pick up all the filth from every nook and cranny. Simple enough, but it won’t reach under the keycaps, and it’s not the best at removing the grease.
Grease Removal

To remove the grease you may want to spray some rubbing alcohol on the lint-free cloth and wipe each key separately. Don’t use too much – you don’t want to spill it.
Alternatively, you may want to remove the keycaps, also allowing you to reach to the bottom of the keyboard. For safety reasons, turn off the computer first and unplug the keyboard before moving on.
Removing the Keycaps
Before removing the keycaps you could take a photo of your keyboard’s layout – this will make it easier to put the caps back once you are done with the cleaning. You should also refer to the manufacturer’s resources to find out if your keyboard’s keycaps can be removed in the first place. Certain keyboards may be built in a more complicated way, requiring you to unscrew the bottom screws to gain access to the keycaps first.
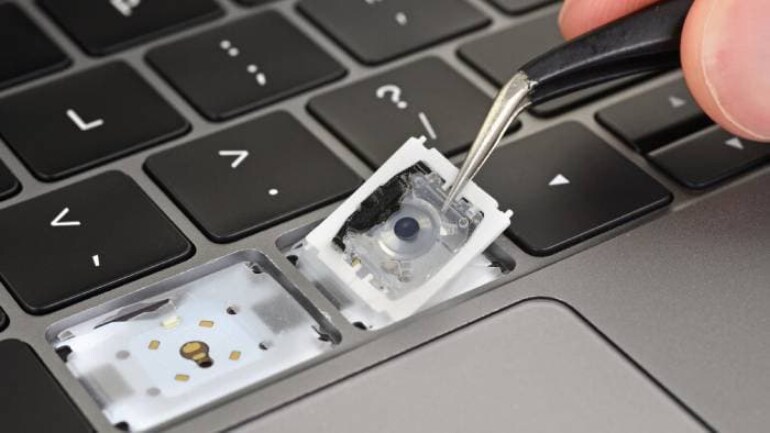
Removing the keycaps in traditional keyboards is quite tricky, as it may lead to damaging the actuation hinge if you don’t proceed with caution. However, fear not if it breaks on your first attempt, as it is fairly cheap to replace. Use the screwdriver to remove keycaps one by one by prying them from the side.
If you have a mechanical keyboard you can just use your keycap puller – this is the most convenient and safest way to remove the caps. If you don’t have any at your disposal, you may also resort to a little trick – just take a paperclip and shape it to resemble a proper keycap puller.
Cleaning the Plate
Once the keycaps are removed you can throw them all into the bowl of soapy water for a few hours. In the meantime, you can clean the bottom plate. Spray some canned air to remove the bigger crumbs. Remove hair and other visible specks of dirt. Then proceed with cleaning the plate itself – use a little bit of rubbing alcohol and cotton buds to brush the entire plate. Take it slow and don’t spill the alcohol or you may damage the keyboard.
Once a few hours have passed you can take the keycaps out from the bowl. Wipe them thoroughly and assemble the keyboard.
Cleaning the Laptop Keyboard
Cleaning laptop keyboard can more challenging, and you should proceed with more caution, as it’s much easier to damage not only a keyboard but the entire laptop. Laptop keyboards usually have more fragile actuation hinges, so you may think twice before attempting to remove the keycaps on your own.
Cursory Cleaning
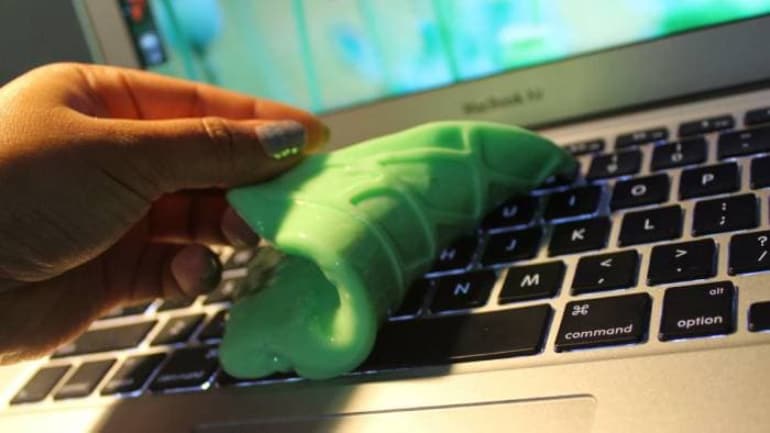
Similarly to external keyboards, you can perform a cursory cleaning which should be more than enough in most cases to ensure the keyboard is nice and clean. First, use the cleaning slime to quickly remove bigger lumps of dirt or food residues – if there are none, you can skip this part.
Grease Removal
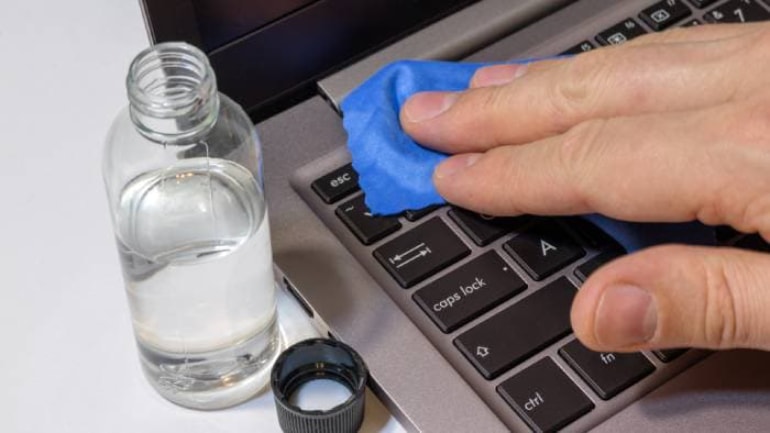
Once the surface of the keyboard is free from visible filth, you may proceed to remove the grease. Because of the low-profile nature of keyboards found in laptops, few slides with wet wipes should do the trick, unless the keyboard is heavily neglected. In this case, you could also use a little amount of rubbing alcohol on the microfiber cloth and rub each key until it’s clean. If you want to proceed further, that’s a good moment to turn off the laptop and take out the battery, if you didn’t already.
Removing the Keycaps
Because of how laptops are usually constructed, it’s much harder for dust and dirt to get under the keycaps, but over time it gets there anyway, so removing the keycaps will be at one point inevitable. It’s also harder to get to the plate – doing so may require disassembling the entire laptop down to the motherboard, though such constructions are quite rare.
As it’s been said earlier, laptop keyboards are more fragile, so proceed with extreme caution when prying the keycaps with a screwdriver, and make sure beforehand they can be removed – check out specifications on the manufacturer’s website.
Cleaning the Plate
Once the keycaps are removed you can do as you would do with a traditional keyboard – throw the keycaps to the bowl of soapy water for a few hours, spray some air on the plate to remove bigger crumbs, and brush the plate using cotton buds with rubbing alcohol.
Wipe the keycaps, assemble the laptop, and enjoy a breath of freshness.
Recommended Keyboards
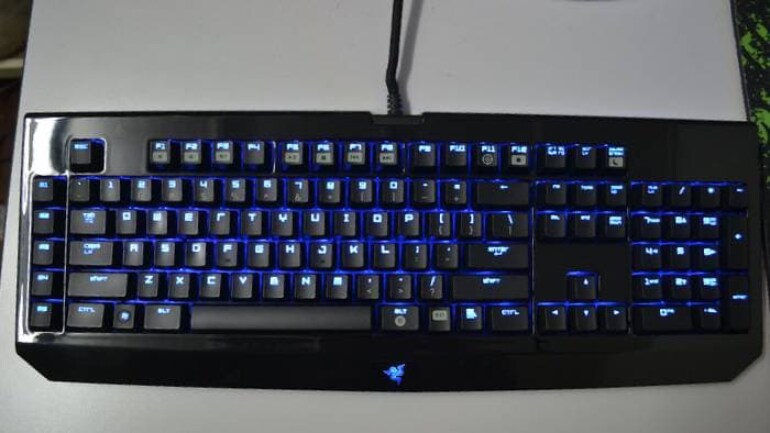
Sometimes, instead of cleaning the keyboard you may want to take a shortcut and simply get a new one, especially if your current keyboard is extremely neglected. The market is full of interesting options to choose between, from simple membrane ones, through mechanicals created for more demanding users and gamers, to professional gaming keyboards coming together with impressive customizable RGB backlighting and programmable macro keys. Take a look at the possible choices below and feel free to pick the one that appeals to you the most.