


What would the world of Minecraft be without iron? It’s better not to think about it because it’s an ore we need and want more of.
Iron is a standard component in many recipes and mechanics. Thanks to it, you can create decent armour and weapons, like a crossbow or sword, plus useful crafting blocks – a stonecutter, anvil or funnel, not to mention the essential shield.
Read on to find out which iron level Minecraft is the best and why, how to equip your equipment to make a trip go smoothly and safely, and what are other ways to get iron.
Highlights
- Today we will focus on Minecraft 1.21.
- Y-levels will differ on a mountain biome
- Levels Y = 14 and Y = 232 are the best for iron mining, but some differences exist.
- There are levels where you won’t find iron ore
- Also, there are places where the game spawns iron in larger quantities
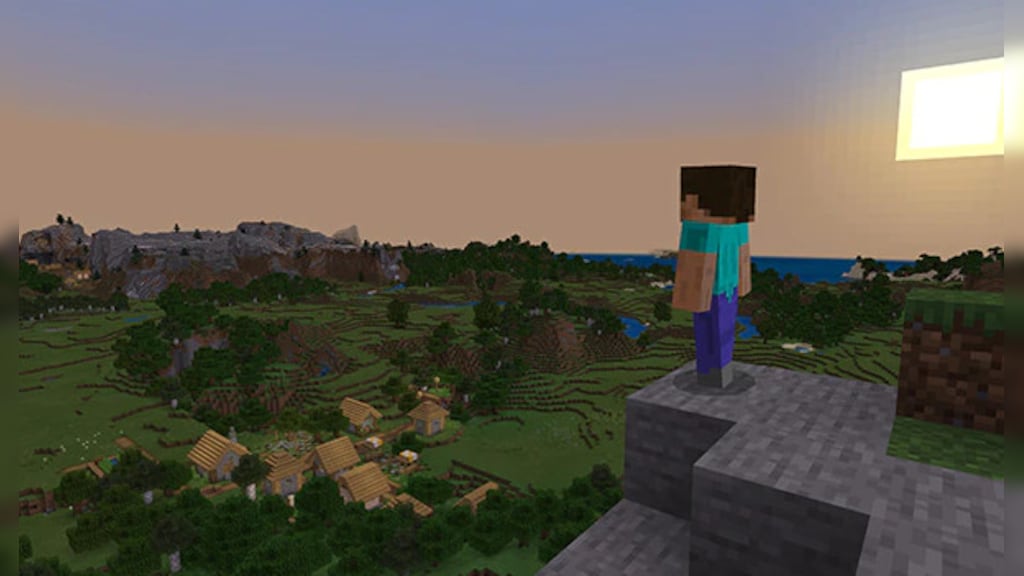
Best y-levels to find iron ore
It’s not difficult to find ore, but there are much faster ways than the basic exploring caves or widespread biomes on a surface.
The best levels to go with your pickaxe are: Y level = 14 and Y level = 232. You should focus on these exact numbers because the possibility of containing the ore is high, as well as in the closest areas, so if you found iron, there could be more hidden behind.
The second number relates to mountain Minecraft biomes. In the case of this terrain, iron ore appears in the game at levels from Y level = 80 to Y level = 256, but the number 232 is the magic one to remember.
Often these are open areas where you will quickly spot the raw material without unnecessary digging and destroying picks.
Now let’s go back to level 14. It’s close to the surface, you won’t encounter as many monsters there as in deep layers; it’s the second level where you’ll extract the most of the material.
You have quite a bit of room in the mountains, you don’t have to go deeper, which will help avoid the monsters lurking in the corners and feel safer, but on level 232 the iron spawns more often than on level 14.
An important note is that we know the range you need to evade. From the level 73 to 79 in the Minecraft world, iron does not occur at all.
Equipment you should take to iron mining
You already know where to look for iron ore, but it is important to equip yourself properly before the expedition. What should you bring so you don’t clutter up your equipment and remain safe?
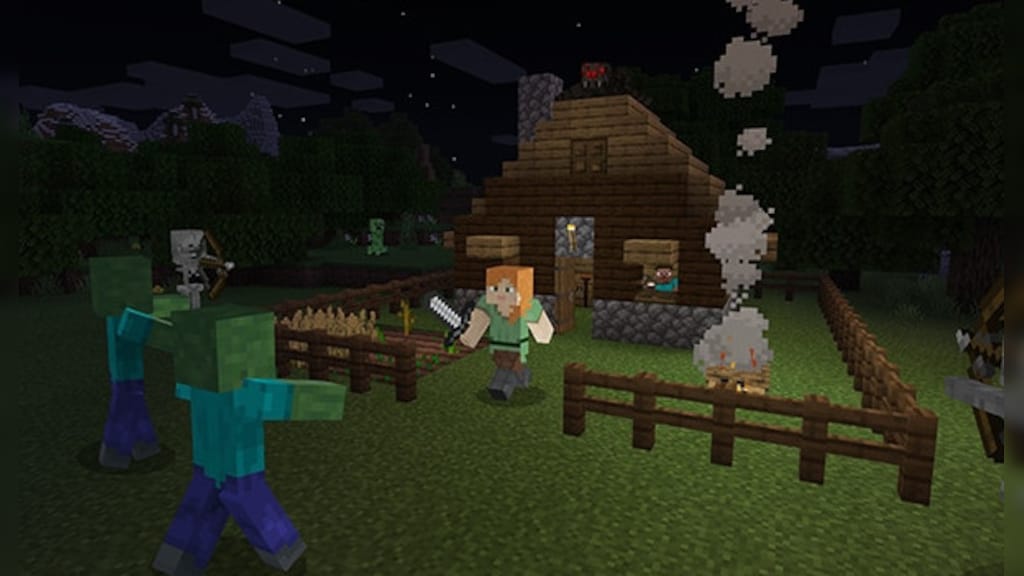
Although you’ll find iron close to the surface, there is no 100% guarantee that you won’t encounter a monster on your way.
Therefore, the first thing you should take care of is armour, a weapon and a shield for full protection if you have at least one iron bar to create it. This will protect you in case of an unwanted clash with mobs.
Of course, it will be difficult to take care of good armour at the beginning of the game, so to avoid a fight, you’ll need to at least have strength in your legs. Get food to keep your hunger in check.
Now suppose you’ve reached your destination point, but probably you won’t be digging with your bare hands, so the most important item you can’t do without is a pickaxe.
So that digging doesn’t take ages, get the stone version, and if you’ve already settled into this square world a while ago and have the raw materials and equipment to do so, the Fortune III pickaxe will be most suitable.
Well, you’ve dug a hole and what’s next? Navigating underground in the dark is not the wisest choice. Torches are a convenient and affordable source of light to have on hand.
You can also create them when you get there, just don’t forget the wood, which will be useful for crafting sticks, a crafting table, or chests to free up some space in your inventory.
For ease of excavation and moving around the caves, take a shovel and a bucket of water with you. There’s no point in wasting a pickaxe and time digging gravel and dirt with it, and the liquid will help you get into harder-to-reach areas or deal with lava with ease.
Let’s summarise what you need:
- Armour
- Your preferred type of weapon
- Shield
- Food
- Pickaxe, preferably from Fortune III
- Torches
- Wood
- Crafting table and chests
- Shovel
- Bucket of water
Discovering Massive Iron Deposits in Minecraft
Where can this desirable ore be found in larger veins? After all, time is of the essence. Look for it between -56 and -24 levels, that’s where the game spawns this useful resource in large clusters.
If you managed to be one of the lucky ones, you certainly have a fair amount of courage, as you can usually find sizable amounts of this resource underground, where you often have to show your dexterity against hostile mobs.
Other efficient methods to get iron
1. Branch mining
Just exploring and digging blindly in these ranges, will not always be the most efficient. There is a method you can use once you are at a particular level. How about creating your own mine?
Branch mining is a way of extracting raw materials by digging corridors but in a specific way. Imagine a staircase winding down the earth, and long corridors that have been dug with branches every other block on two sides.
All you have to do is move along the main corridor and dig into the wall as far as your square hand can reach. If you don’t find anything, you move deeper into the main hallway by a block and repeat the process until you do.
You can create as many corridors as levels with this method – you already know which ones are worth focusing on the most.
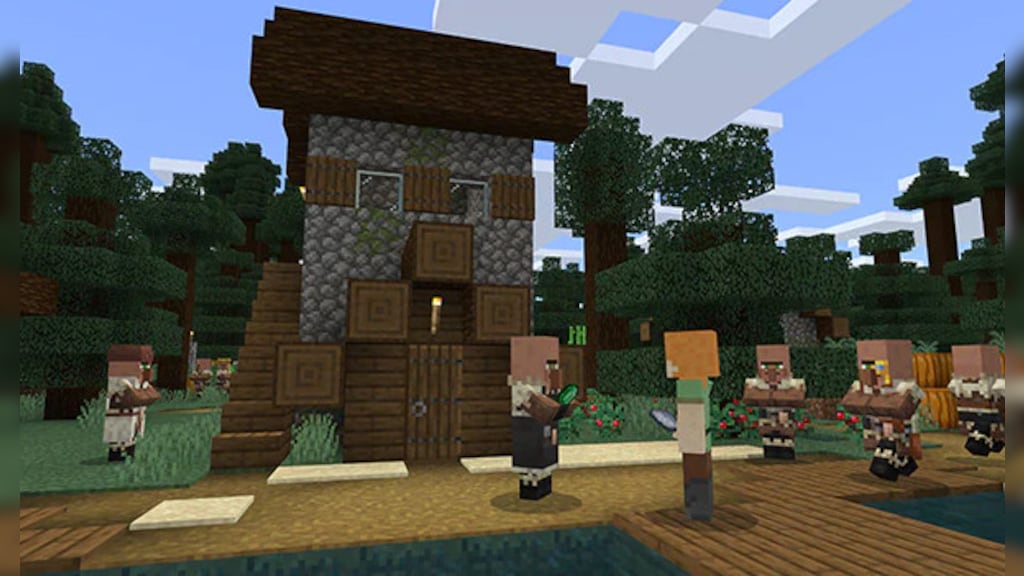
2. Iron Golem farm
This method, a little more brutal, is to create a farm where Iron golems drop iron bars after death, but you need to provide the right conditions for this. Villagers will play an important role in this, being more accurately, it’s three of these mobs.
Yes, in the case of Minecraft, it’s a crowd, as this number is the minimum to trigger Golems to appear. These iron characters have a specific purpose, namely the defence of the village, so it’s handy to have a monster for that so your hostages have something to fear.
Of course, make sure the friendly mobs have somewhere to sleep and are not in the same room with the zombie, you need them alive for the farm to work.
What to use the iron for?
You have returned from the expedition safe and sound, and you have brought home a large amount of iron ore. This material must now be burned. And what’s next? There are quite a few useful things or decorations you can create with it.
You’ll need better armour and a sword. An iron pickaxe, axe, shovel or hoe are very basic things, but let’s focus on something more unique. Decorate your place with Chains, Iron Bars, or for something more rich, Iron blocks.
Utility items may not be the most interesting proposition, but shears, flint and steel or a bucket can come in handy for more mundane activities. How about making a connection to the mine with minecart and rails? Anvil, cauldron or smithing table assets are also worth using.
There are plenty of possibilities, and if you don’t want to create new things, you can use the raw material to trade with villagers in a nearby village. Perhaps they have interesting suggestions to trade?
Conclusion
There was a lot of information, so let’s summarise. You have learned at what y-level is iron easy to find, where it spawns in bigger blobs, and where you won’t find it at all.
We’ve given you some ideas on how to use this resource, and the list of useful tools we’ve compiled will also be helpful to you.
Perhaps there is something else you would take with you? And let us know if you have tried the additional methods for obtaining this raw material and if they have had the desired effect. Good luck!